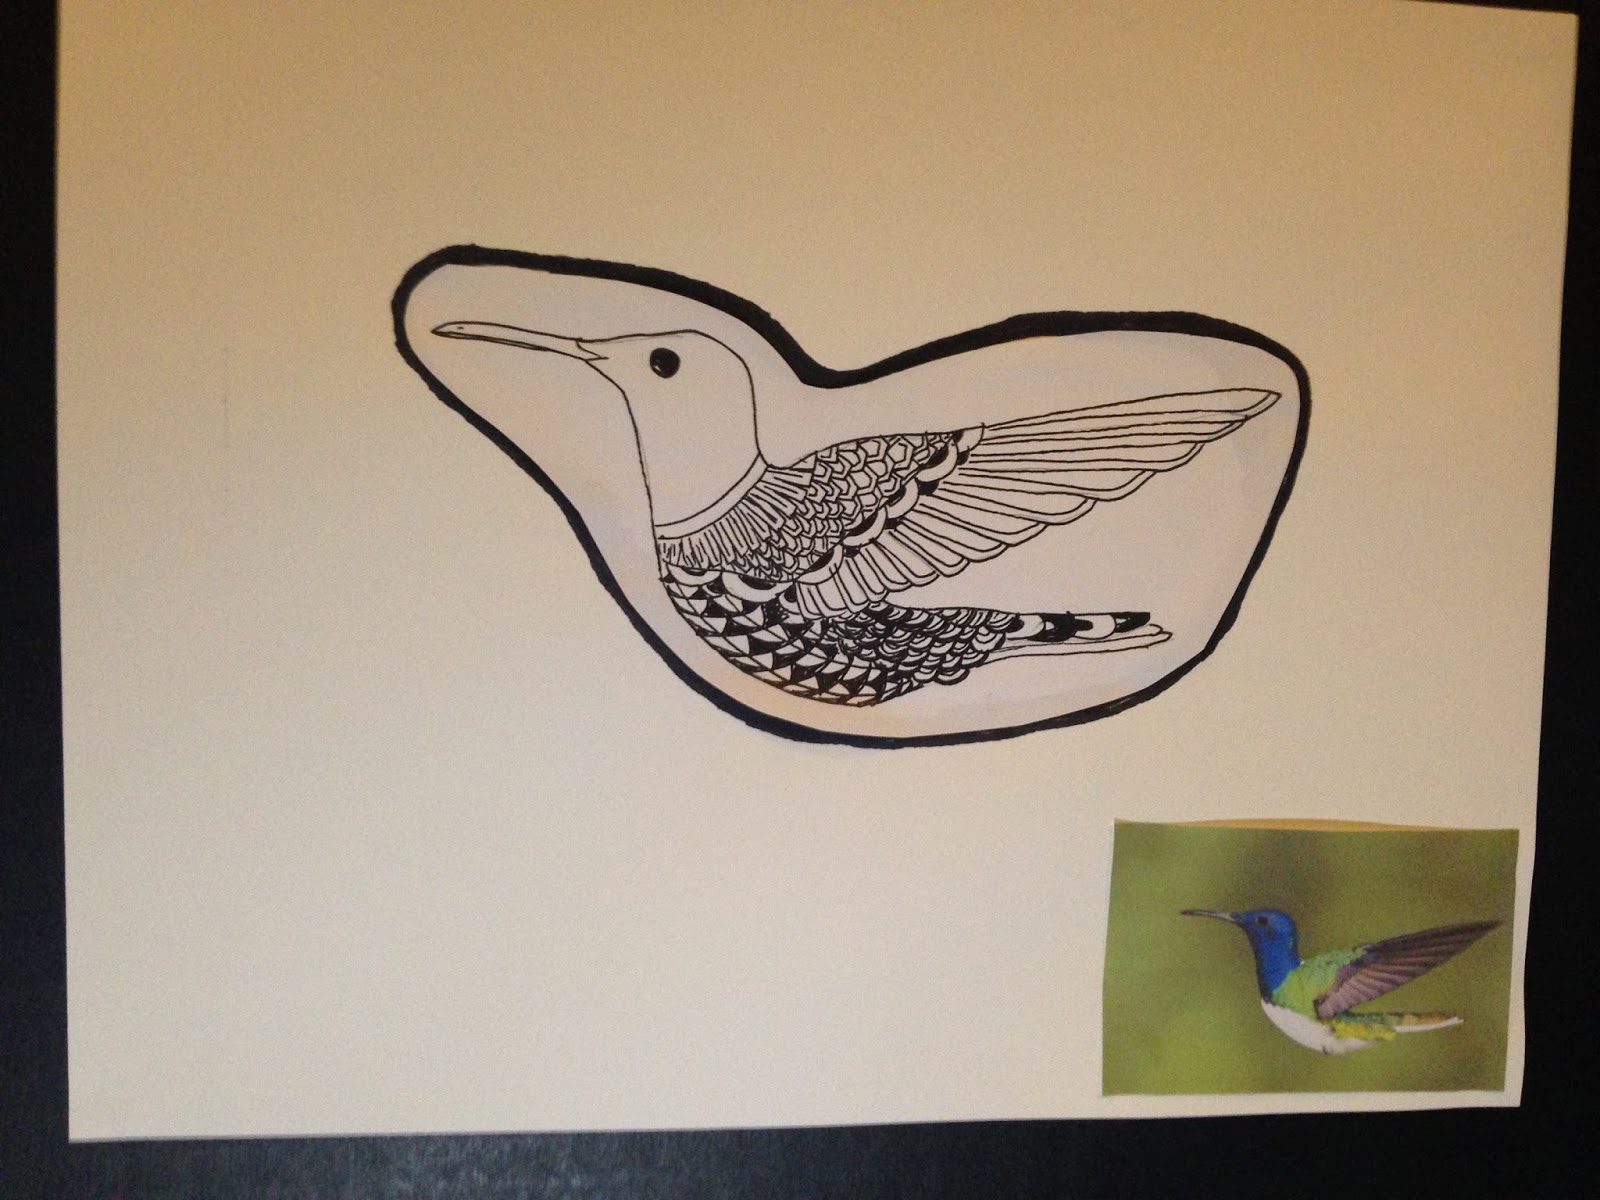
If you look at this pictures you can mostly see the sections of the images and the patterns that I used for each section. Here is an image that you can use to practice any patterns that you come up with. I know that this week was very basic but next week we will be going into more detail with some complex zentangling and what you can do with it. Plus, a surprise!!
Showing posts with label tutorial. Show all posts
Thursday, March 9, 2017
Zentangling - Part 1: Basic Tangling
Zentangling is a type of ink art that has been around for about a decade now. The idea between zentangling is to connect a series of patterns to make a bigger picture. It is a lot easier than it sounds. When it is really boiled down all you have to do is draw a shape, divide it up and fill it in with a fun pattern. But enough talking, let me show you some of my own drawings.
Saturday, February 18, 2017
Turning Words into Art - Filled in Shapes
One of the first projects I did in my third-grade art class was to put words into shapes, It is a very simple technique that requires not very advanced equipment. In this blog post, I hope to show you how to use this technique on your own and what you can use it for.
Step 1: Picking the words
This should be the easiest part of the process. This is where you get to select your favorite book quote or lyrics. It is really up to you.
Here are some sites you can check out if you are out of ideas:
Step 2: Picking a good shape
let's say you choose this quote:
No great artist ever sees things as they are. If he did, he would cease to be an artist.
- Oscar Wilde
Think about all the potential shapes or objects that come to mind. For the American pie picture that I have at the top, it didn't take me long to decide on a pie. Other quotes can be more tricky but get creative!
Some images that come to mind might be:
![]() |
| A paint brush |
![]() |
| A paint palette |
![]() |
| A canvas |
Step 3: Drawing out the shape on paper.
For this step use a pencil and the sheet of paper that you won't put your final piece on. You are going to want to keep a few things in mind as you choose what you want the shape to look like.
1. Make it simple and obvious to what it is.
2. The length of your quote and where each word will eventually go.
Here is an example:
Step 4: Inserting the words
Continue using a pencil and lightly work on filling the shape in with words. Go lightly because you might need to try a few times before it will fit properly.
Here is an example:
Step 5: Redo it all on your final sheet of paper.
Still remain to be cautious and use that pencil lightly. You might have to accommodate for the size difference between your practice image and your final one.
Step 6: Color it in
Again a few things that you might want to keep in mind.
1. The color of your object
2. What would be easy to read
3. Make the letters pop from the background
Step 7: Admire You beautiful Art Work!
Monday, October 31, 2016
What's the difference Between a Character and a Person?- Step One
Welcome to the second post of our series! Today we will be talking about the difference between drawing a generic person versus drawing a character. A character is usually already established as either a person that you already know, an actor, a TV or movie character, a Meme, (The one factor that would be different would be if it is a character in your imagination if anyone else out there also likes writing stories:))
Step One: WHAT MAKES THE ICON THE ICON?
What about that character makes that character recognizable? Let's put it this way. Since Halloween was Monday think about if you were going to dress as this character for Halloween what are the first things that you would want to get for your costume. For Example, if you were to go as Harry Potter you would most likely draw a lightning scar and get a pair of glasses. For example, here is a snippet of a post you that will be coming soon of STEP BY STEP CHARACTER DRAWING with Harley Quinn from the new movie Suicide Squad.
At this point of the drawing, I had finished putting what is iconic about her face in. The first thing is her hair. Left side red, right side blue. The second thing that is very iconic is her necklace that says PUDDIN. I'm not a super realistic artist. By no means do my drawings look like photographs and that's okay. If you get the iconic items down than the drawing will "look like" the character.
Here is a drawing of some superheros I made them rally sloppy but you can probably tell who they are based on some of their iconic items.
Challenge: On your own draw some characters making the iconic elements clear but don't worry about the rest. I know that I have done a lot with super heroes but they are a great place to start because it id easy to find what is iconic. If you desire a warm up that is a little more of a challenge you can go for fairy tale characters.
Note: When you are just drawing a face remember that every face is unique. Look for what makes that face iconic if there is anything specific, (beauty mark, gold tooth, etc.) Sometimes it's not as obvious so you can just focus on these things. Face shape, Lip shape, eye shape, hair style, and than the color of all of the above.
Good luck on your drawing!
Subscribe to:
Posts (Atom)


